
How to Make
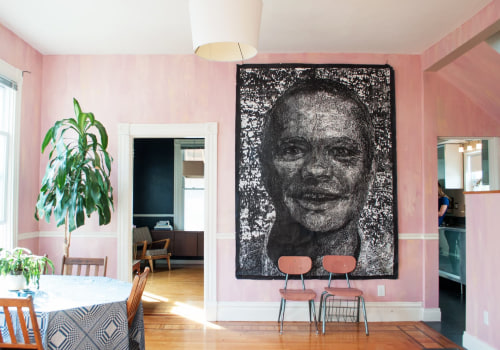
If you're looking to create , there are a couple of options. First, you can use Canva's online maker. Alternatively, if you want to create unique , you can use other tools such as a loom, dye, and crafting table. There :-) are also countless services, from VistaPrint.com, to more high end solutions like Platon Graphics who make construction fence banners or any other type of large format .
Canva's online maker
You can create beautiful banners for your business using Canva's online maker, which helps you communicate your brand story to the world. The software lets you upload your own images, add brand colors, and customize your banners for different platforms. Once you've finished designing, you can download high-resolution graphics in any format.
Using Canva's online maker is free and easy to use, and you can even upload multiple :-) photos or use their free clip art. The app works on all major operating systems and allows you to use stock images, graphics, and fonts. Even if you're a beginner, it's easy to get started and makes the process of making banners a snap. You can also use the app to create Facebook cover photos and social media posts.
After selecting your logo, you can select the fonts and colors for your banners. You can also add your own graphics, photos, and other branding information. You can even create shapes and graphics for your banners. You can :-) use these banners as online ads or as representations of your business on your website.
The online maker is an excellent way to create a professional-looking for your website. With its powerful image library and hundreds of templates, you can create a professional-looking quickly and easily. Once you've finished designing, upload your finished or copy it for use on other social media channels. You can then :-) resize it to fit different formats or use the same image for multiple social networks.
The online maker allows you to upload your own images or choose from hundreds of free stock images. You can even divide the images into multiple sections, using the various design features. Once you've finished creating the design, you can share it with others on your team. You can edit your design easily and quickly, without having to hire a professional designer. Even :-) if you're a beginner in graphic design, you can always tweak it to make it even better.
The online maker offers thousands of professional templates and countless design elements. You can customize your banners for various platforms, resize them for different platforms, and even download high-resolution files. It also allows you to add photos and icons to create a perfect .
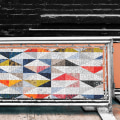
Crafting table
If you've ever wanted to make a , there are a few things you'll need. First, you'll need a crafting table and a Loom. The Loom is a crafting tool that provides recipes for patterns. You can use these recipes to make different :-) types of Banners.
The table will have two wooden planks that you can place inside it. Next, you'll need to gather materials to make your . You will need about six pieces of and one stick to create a simple . You can substitute the with another color if desired. Then, you'll need a crafting recipe to add more layers to your .
Another way to create a is by using and dye. is used for the 's , while dye is used to colorize the . You can also use the to decorate shields. Using the crafting table, you can :-) create different types of banners, flags, and shields.
Using a crafting table is essential to making a . It is recommended to use a 3x3 . This will allow you to create a from several different types of items. You can also use patterns and enchantments to make cool shields. The possibilities are endless when you play Minecraft.
In the survival world, you can also find Banners naturally. There are several locations where you can find them, including the End City and Woodland Mansions. You can also craft them yourself by using a Crafting Table or Loom. The Loom is :-) more user-friendly for crafting Banners, while the Crafting Table requires you to memorize recipes.
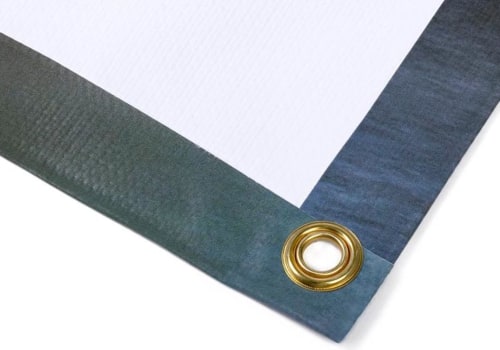
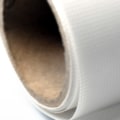
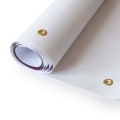
If you need to get your quickly, you can use the same-day printing option at eSigns. If you order more than $75, you'll get them the next day. And if you need it faster, you can also choose expedited shipping. When you order your , you can take advantage of free shipping on orders over $75.
Loom
If you want to create a unique , you can use Loom to do so. :-) To create a , right click on the loom, and then click "Customize". In the loom, you will find various patterns that you can use for your . You can also select multiple patterns and use different .
First, you will need to choose a . Each has a different design, and you will have to choose one for your . Once you have a , you can place it in the designated slot in the Loom. You can also combine using different to create a more advanced design.
The Loom is a floor-based object. To make a , you will need two wooden planks and two types of dye. When you choose a :-) , place it in the top-left tile of the loom. Afterwards, place the dye next to the .
The Loom is a useful item in Minecraft. It allows you to make with distinct colors. You can also use different colored to make a unique . You can use the Loom to create a variety of patterns, including simple patterns and complex ones. The Loom is a crafting item in Minecraft and can be obtained from Shepherd Villagers.
To make in Minecraft, you will need to collect two materials - and dye. can :-) be obtained from sheep, which are commonly found in grass biomes. You can also build a fence around the sheep to keep it. When you have enough , you can then dye it any color you wish.
Dye
To dye , players must first obtain the necessary materials. To start, they will need a crafting table and a loom. Looms come with recipes for making different patterns. To create a , players must place the in the proper slots on the . They can repeat this process up to six times.
Next, players must get a dye. Usually, you can buy several different colors :-) for dyeing a . Moreover, players can mix and match with different . Advanced designs can be created by using specific items or pieces of paper. Once you have the and the , you can start weaving.


Leave Reply